2026-10-07
MEA vs BDA: what each one tells a planning cell
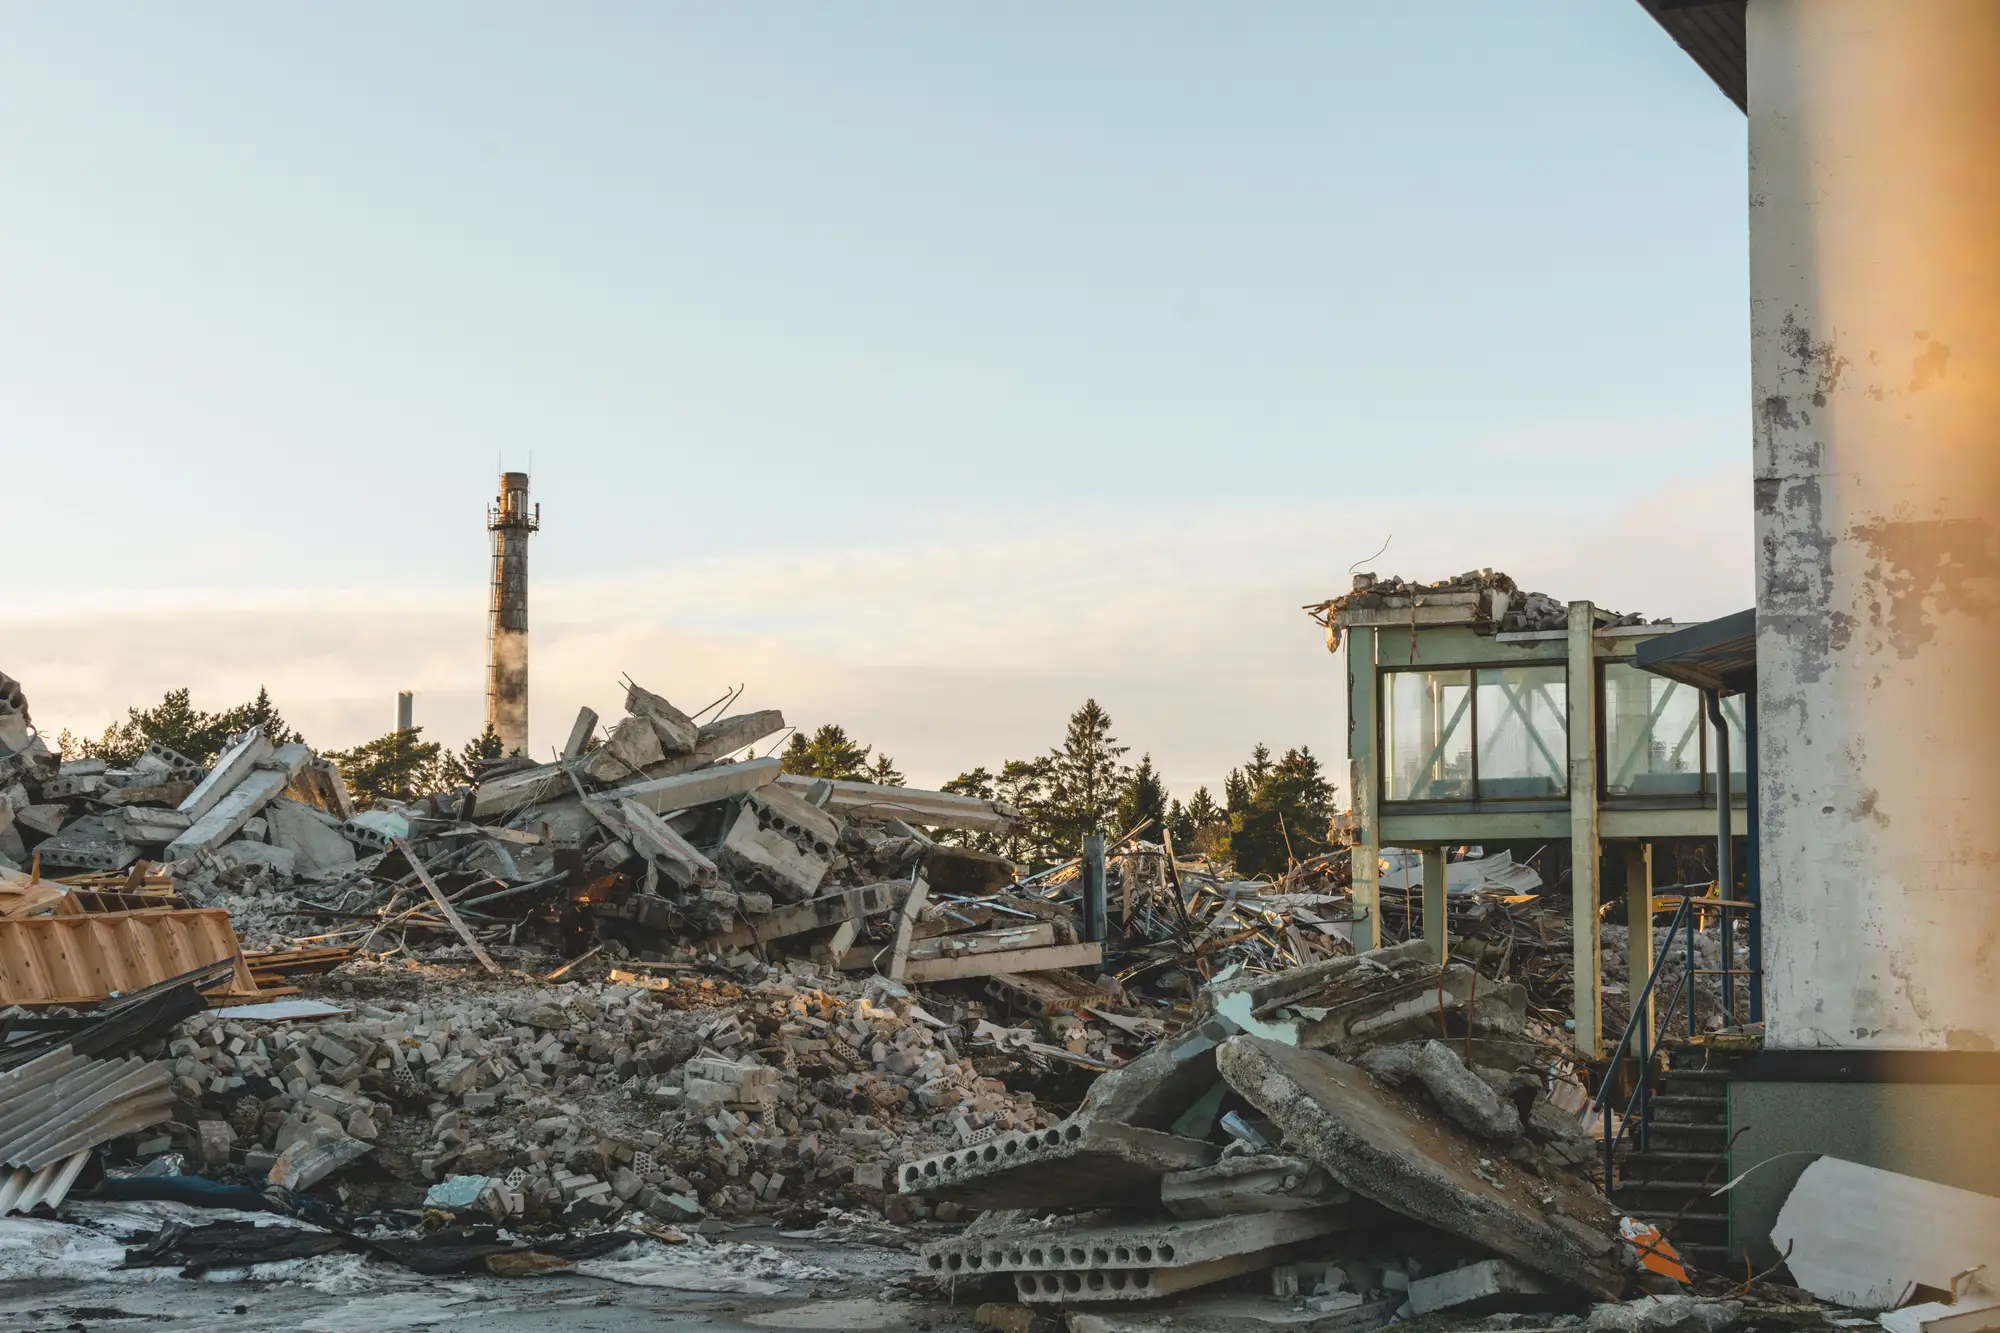
BDA and MEA get used interchangeably in after-action chatter, and that's a problem when the re-strike recommendation depends on which one you're holding.
What BDA answers
Battle damage assessment is the physical read on a specific target after a specific strike. Did the weapon hit where it was aimed, and what did that do to the structure, the vehicle, the bunker. BDA is imagery-driven, dated, and tied to one event. A before/after pair on a hardened shelter, graded cell by cell: roof breach, wall collapse, debris field, no visible change. It answers whether this target is still a target, which is the question the officer has to answer before tonight's package gets built.
What MEA answers
Munitions effectiveness assessment sits a level up. It asks whether the weapon-fuze-aimpoint combination performed the way the weaponeering solution predicted, across a strike or across a campaign. MEA pulls BDA grades from many events, compares them against the probability-of-damage figures that went into target selection, and feeds the gap back into future weaponeering. A munition consistently underperforming its assumed kill probability against a specific structure type is itself an MEA finding. BDA told you the bunker is still standing. MEA tells you why, at scale, and what to change in the next loadout.
The feedback loop
The two sit in sequence, not in competition. A strike happens, imagery comes in, BDA grades the specific structure. That grade joins a pool of other grades from similar aimpoints and similar munitions. The weaponeering shop runs the comparison, updates the effectiveness assumptions, and the next strike package gets planned against corrected numbers. Skip the BDA step or let it lag, and the feedback loop has nothing current to run against. The MEA conclusions end up built on stale or incomplete per-target reads.
This is also where the two disciplines pull different things out of the same imagery. A BDA grader is looking at one structure and asking what grade it earned today. An MEA analyst is looking at a hundred structures hit with the same munition over the last quarter and asking what pattern they form. Both need the same underlying input: a dated, itemised damage call per structure, not a narrative summary written after the fact.
Where the confusion costs you
The practical failure mode is treating a BDA call as if it already answered the MEA question, or waiting for a full effectiveness roll-up before making a re-strike call that only needed the BDA grade. A re-strike decision on a specific aimpoint doesn't need the campaign-level trend. It needs to know, right now, whether that structure took enough damage to come off the target list or whether it needs another pass. That's a BDA output, produced fast, off the latest imagery, graded per structure rather than per sortie.
Battle Damage Assessment is built for exactly that step: per-structure destruction grading from before/after VHR optical imagery, run when a strike happens rather than on a fixed collection pass, so the re-strike call has something current to work from. What it produces, dated and itemised, is also the raw material an MEA shop eventually needs. But the two outputs aren't substitutes for each other, and asking one process to do both jobs is how re-strike recommendations end up either too slow or too thin.
A quick way to tell which one you need
Ask what the next decision actually is. If the next decision is "do we hit this target again," you need BDA on that target, dated to the latest pass. If it's "do we change the weapon or aimpoint for this target type going forward," you need MEA across enough BDA calls to see the pattern. Most planning cells need both running at once, with BDA feeding MEA continuously rather than the two getting reconciled weeks later.
If today's question is the first one, pull the per-structure grade before you write the re-strike recommendation.